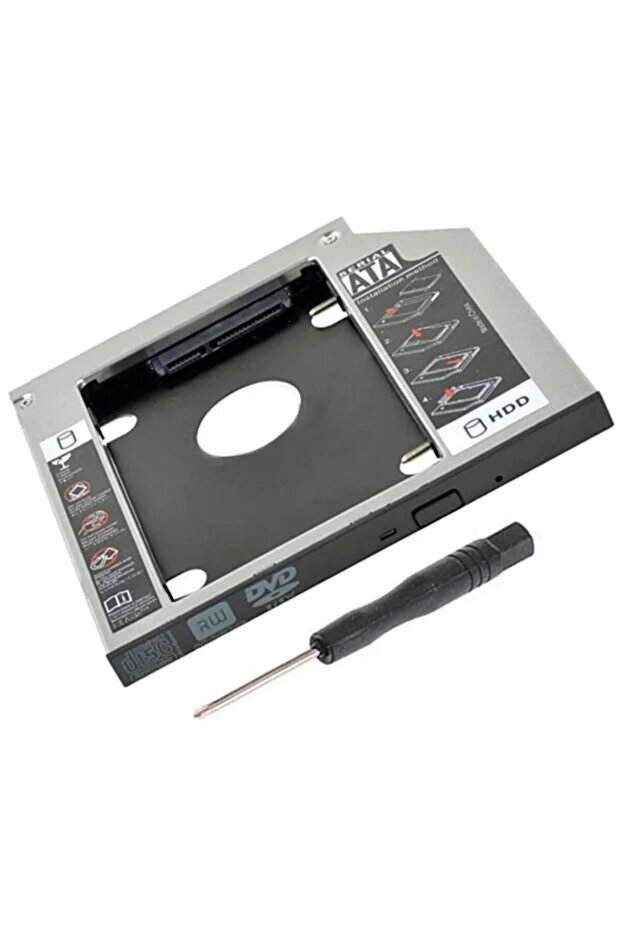


Renvox Caddy Ssd Notebook Hdd Cradle Full Metal-Laptop Dvd Bay Converter (Additional Storage Solution) 12.7mm
 Trendyol Plus Exclusive
At checkout 145.84 AED
153.69 AED

Free shipping & Delivery

Trendyol's commitments

Shopping security

Secure payment
Privacy protection
Safe delivery
Refund for lost and damaged packages
Coupon for late delivery

Free returns
Easy and free return in 15 days.
Highlighted features:
Renvox Caddy Ssd Notebook Hdd Cradle Full Metal-Laptop Dvd Bay Converter (Additional Storage Solution) 12.7mm features
Capacity
2 TB
Write Speed
501 - 1000 MB/s
Color
Gray
Warranty Type
Importer Guaranteed
Reading Speed
501 - 1000 MB/s
Connection Type
USB Type A
Warranty Period
2 years
Instructions for Use/Warnings
Completely shut down your laptop and unplug the power cord. If you can remove the battery, remove it as well. Remove the mounting screw from the existing DVD/optical drive bay. Carefully pull out the optical drive. Place your SSD/HDD disk into the caddy and secure the connections. Place the caddy into the optical drive bay correctly. Secure the connection by tightening the mounting screw. Turn on the computer and wait for the new disk to be recognized. If necessary, format or partition the disk using Disk Management.
Product details

Renvox Caddy Ssd Notebook Hdd Cradle Full Metal-Laptop Dvd Bay Converter (Additional Storage Solution) 12.7mm features
Capacity
2 TB
Write Speed
501 - 1000 MB/s
Color
Gray
Warranty Type
Importer Guaranteed
Reading Speed
501 - 1000 MB/s
Connection Type
USB Type A
Warranty Period
2 years
Instructions for Use/Warnings
Completely shut down your laptop and unplug the power cord. If you can remove the battery, remove it as well. Remove the mounting screw from the existing DVD/optical drive bay. Carefully pull out the optical drive. Place your SSD/HDD disk into the caddy and secure the connections. Place the caddy into the optical drive bay correctly. Secure the connection by tightening the mounting screw. Turn on the computer and wait for the new disk to be recognized. If necessary, format or partition the disk using Disk Management.
Origin
CN
Safety information
Product safety information